fotoflot.com &KODAK Gallery &Picasa &Picasa Web Albums &SmugMug &Support &Zenfolio fotoflōt | 06 Sep 2009
Quick tour through the fotoflōt application …
The fotoflōt application provides many features. This post will show how to login to an account, select an image, and create a fotoflōt for checkout. Simply click any of the images in this post to see a larger version of that image.
![]()
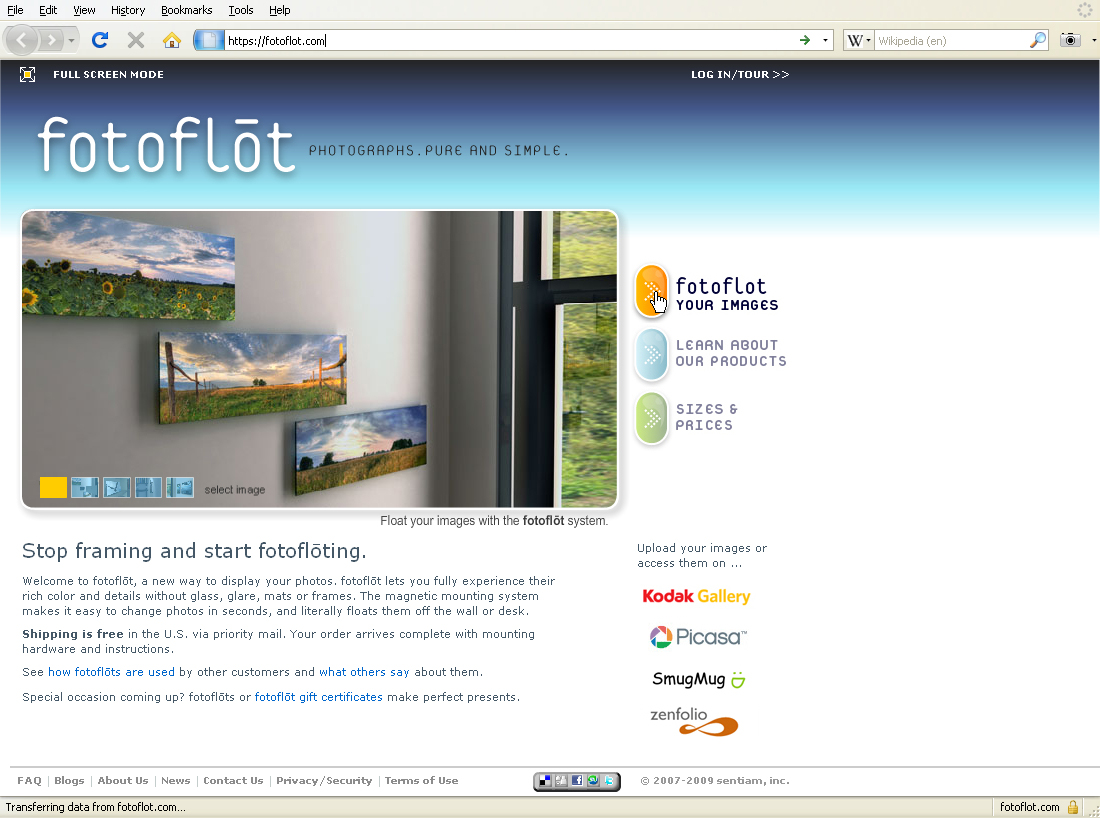
 Start the application by pointing your browser to https://fotoflot.com. From the main application screen you can explore all parts of the application. Simply click the orange “fotoflot your images” button to start working with your own images.
![]()
 The login screen allows you to create a fotoflot.com account, or to connect to your images in existing fotoflōt or partner service accounts. Simply select the gallery you want to connect to, provide your user name and password and you are on your way.
You can upload additional images into your fotoflot.com account after successful login.
![]()
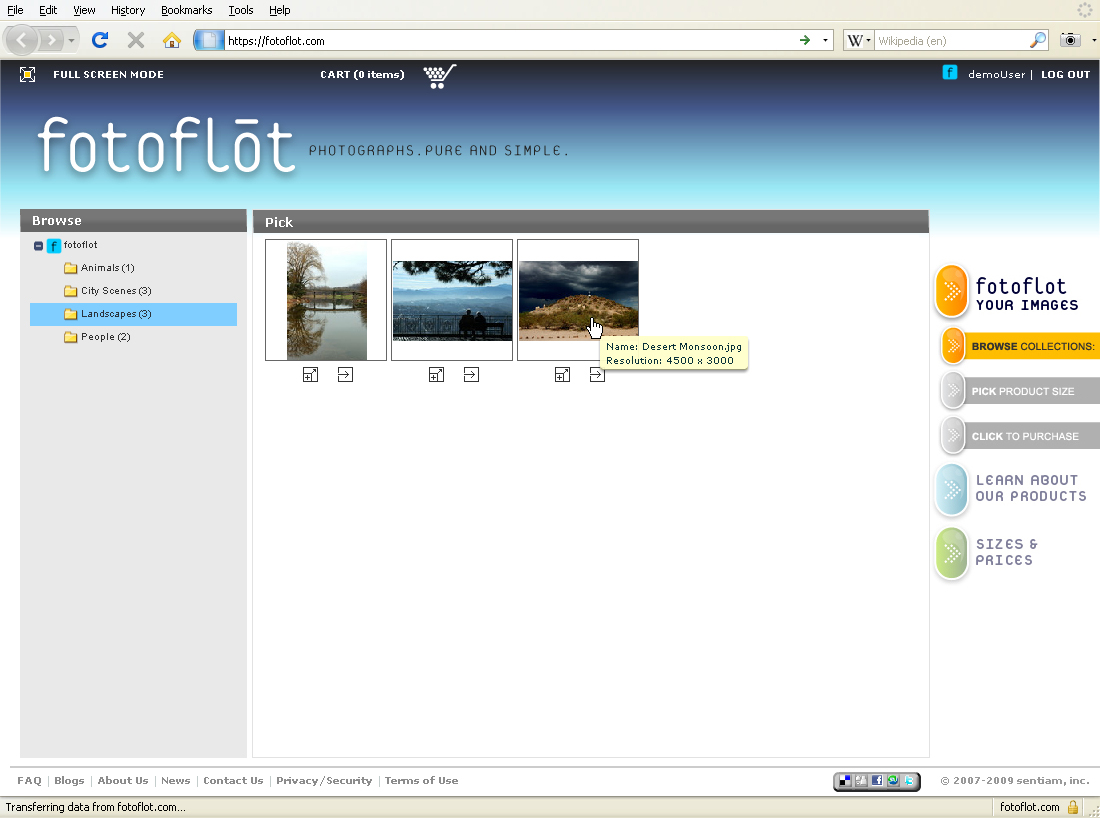 Navigate to the folder that contains the image you’d like to flōt by clicking the name of the folder in the browse tree on the left. An image can be selected by clicking on the image in the pick area on the right.
![]()
 The fotoflōt application will present all available products for that image. The list will be sorted by best fit, meaning that the products that require least cropping are presented first.
You can refine your selection in the header of the pick area. The product orientation can be selected (landscape, portrait) as well as the mounting option (desk wall). Depending on the selected options, more or less products will be presented.
The product browser takes the resolution of your image into account. Green rectangles indicate that your mage has enough resolution for that product. Red rectangles indicate that the crop required to fit your image to the selected product will yield too low of a resolution.
Products with different sizes but same shapes (width-to-height ratio, aspect ratio) will be shown together. Simply click one of those images to select that product size for your image.
![]()
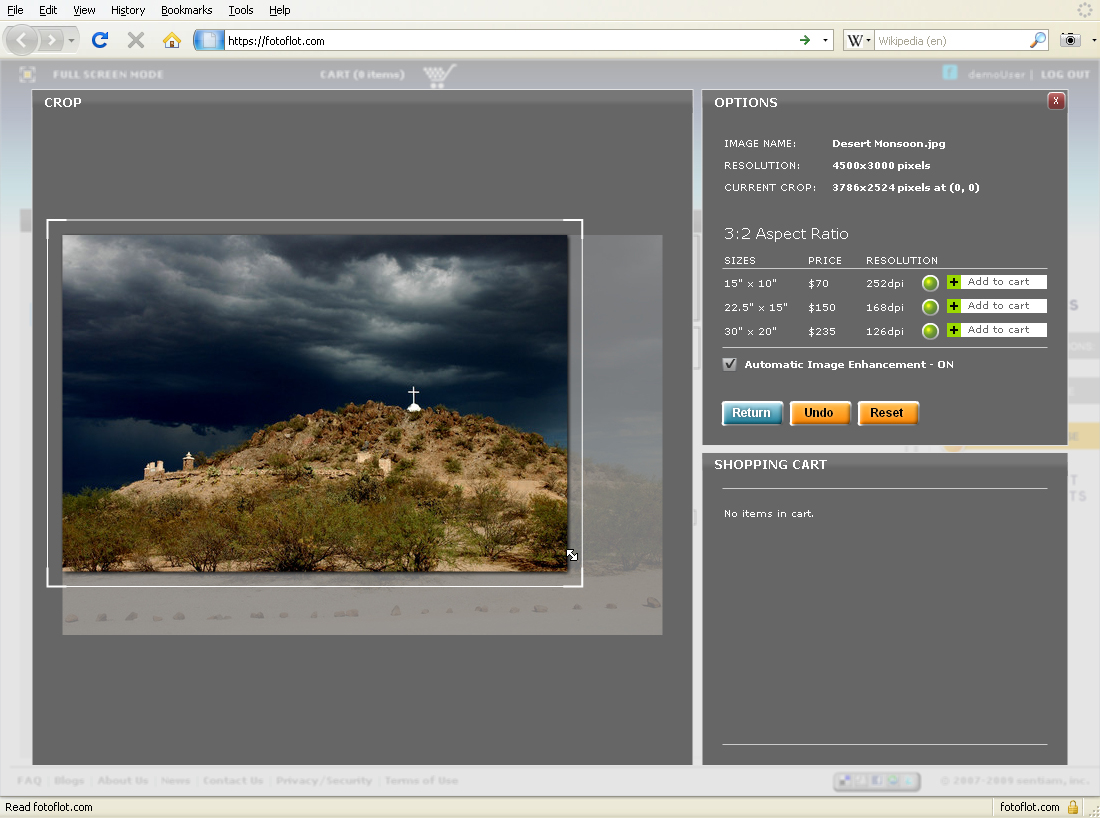 Use the mouse to select the area of your image you would like to have on the fotoflōt. You can resize and reposition the desired area.
The application may eliminate certain product options if your selection results in an unacceptably low image resolution.
![]()
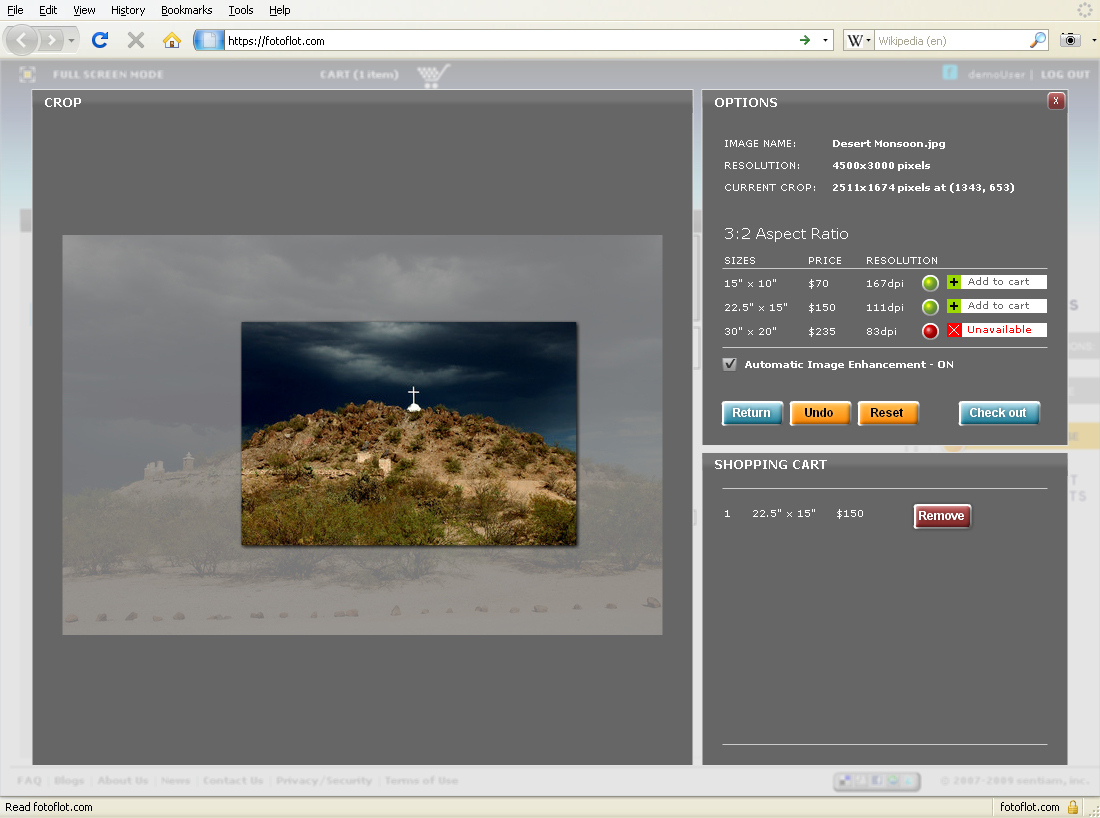 When you are satisfied with the result, click the “add-to-cart” button for the product size you’d like. Your selection is automatically added to the shopping cart.
The quantity of a product is adjusted in the cart in case you add the same product with the same image crop more than once. Additional line items are added to the cart if you select a different product size or a different crop for the same image.
At this point you can select the “Return” button to select additional images. You can also start the checkout process through the “Check out” button.
![]()
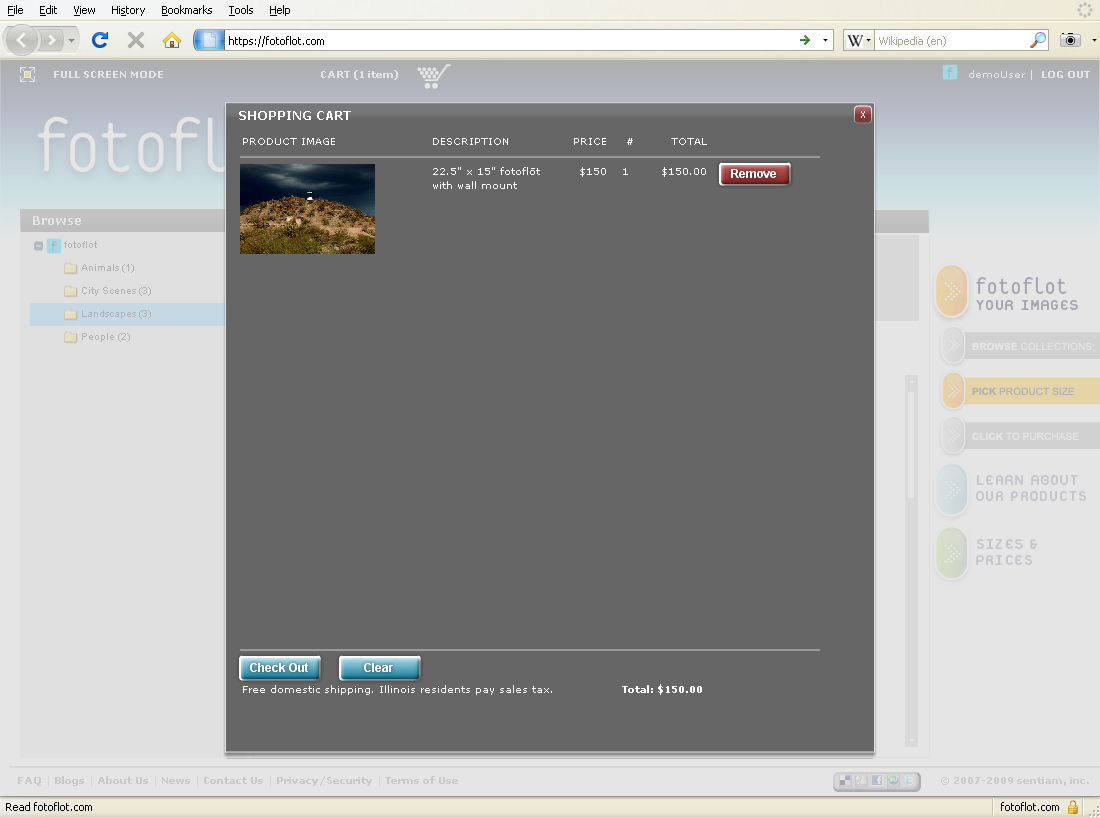 Review the content of your shopping cart before you continue to the data entry section of the check out process. Here you can eliminate items from the cart or clear the entire cart if necessary.
If the cart shows the products and quantities you’d like, continue with the “Check Out” button at the bottom.
![]()
 A new window will show up after a few moments. Depending on your pop-up blocker selection, your browser or Internet security software may try to prevent this window from opening. Please grant fotoflot.com the permission to open this window.
The first step of checkout is to select the country and postal code of the shipping address. After you made your selected, go to the final step (shipping address, billing address, credit cart) by clicking on the “Checkout” button at the bottom of the screen.
![]()