Diptychs, triptychs, ... &Wall collage tom | 01 Feb 2009
fotoflōting a family picture wall
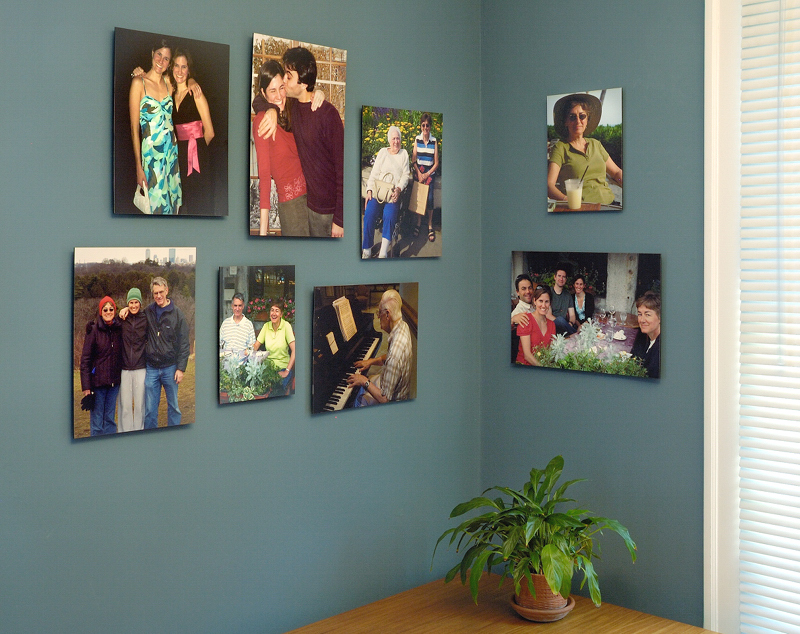
We had wanted to put up a wall of family pictures in our study for years. Once fotoflōt was born, it was a no-brainer to use it for this project. It took a while to get our act together, but we finally got it done last year. We’re delighted with the result. We have a total of 16 photos on two walls, and are adding another area on a third wall. The fotoflōts are a mixture of sizes from 7.5″ x 10″ to 12.5″ by 15″, which work well in this space.
I used the following approach to designing the wall:
- Make a rough sketch of the walls and fotoflōt placement to decide on the number of fotoflōts.
- Select the pictures and decide on the size for each one.
- Draw a layout of the wall, determine fotoflōt placement and mark relative horizontal and vertical distances of the fotoflōts from a reference point in the lower left corner.
- Order the fotoflōts. When they arrive, lay out the arrangements on the floor to fine-tune. Make any resulting changes on the paper layout. Mark the position of one of the screw or nail holes for each fotoflōt, and its relative horizontal and vertical distance from the reference point.
- Using these measurements, mark each corresponding point on the wall. Use the wall bracket for each fotoflōt as a template to mark the other screw/nail hole(s), using a level to make sure it’s straight.
- Double-check the measurements. Drill the holes or drive nails, install the brackets and snap the fotoflōts in place.
- Sit back and enjoy your handiwork.